
Wi-Fi Dead Zones: How to Diagnose and Fix Poor Office Coverage
The complaint always sounds the same. "The Wi-Fi dies in the back office." Someone has rebooted the router twice, someone else has suggested buying a "stronger" one, and the person at the corner desk is still tethering to their phone. Dead zones are rarely mysterious. They are almost always a placement problem, a channel problem, or a capacity problem wearing a disguise. Work through them in order and you will spend far less money than the reboot-and-replace crowd.
Map the Space Before You Change Anything
Start with a floor plan, even a rough sketch on paper. Mark the router or access point (AP), then walk the space with a laptop or phone and note where the connection drops, where it slows to a crawl, and where it is perfectly fine. Do this at least twice: once when the office is empty, and once during a busy hour. The two maps are often different, and that difference tells you most of what you need to know.
At each problem spot, record three things:
- Signal strength. Measured in dBm, a negative number where closer to zero is better. Roughly, -60 dBm is comfortable, -70 dBm starts to feel unreliable, and -80 dBm is essentially unusable. Any Wi-Fi analyzer app or the built-in tools in Windows and macOS will show this.
- Throughput, not just bars. Run a file transfer or speed test next to the AP, then repeat it at the problem desk. If the signal looks decent but speed collapses, you have congestion rather than a coverage gap.
- Timing. If the trouble only appears at 2 p.m. when the whole sales team is on video calls, you are looking at a capacity limit, not a hole in coverage.
Three Different Problems All Called "Bad Wi-Fi"
These need different fixes, and treating one as another wastes time. Keep them separate.
No signal at all
The device drops off completely and reconnects only when you walk down the hall. That is a genuine coverage gap. Move, add, or reposition an AP.
Weak but present signal
The device stays connected but is slow, and the connection bar flickers. Usually a wall, a metal object, or distance is eating the signal. Placement is the lever here.
Strong signal, poor throughput
This is the one people misdiagnose most often. If you are sitting near the AP and still getting sluggish results, the radio is busy, not distant. Neighbouring networks, too many devices on one radio, or an old 2.4 GHz-only client dragging everyone down are the usual culprits. Moving the AP will not help; tuning will.
Placement Fixes More Dead Zones Than New Hardware
Radio waves behave a lot like a lamp. Put a lamp in a closet and the room stays dark, no matter how bright the bulb. An AP tucked behind a filing cabinet, under a desk, or in a corner of the server room is doing the same thing.
Where the AP should live
- Centrally, and high up. Ceiling mounting is standard for a reason — it clears furniture, people, and most obstructions.
- Out in the open, not in a cupboard, ceiling void, or metal rack. If you can see it, client devices stand a better chance too.
- Away from metal, mirrors, water pipes, and thick concrete. A single load-bearing wall with foil-backed insulation can knock a room out of coverage.
- Away from the microwave, cordless phone base, and any large motor or lift shaft.
- On multi-floor premises, stagger APs between floors rather than stacking them directly above one another.
Antennas matter too. If your AP has external ones, point them vertically for typical single-floor coverage. Tilting them towards a distant room rarely does what people hope.
Tune Channels and Radio Settings
Once placement is sensible, tuning is the second lever. Two rules carry most of the benefit.
On 2.4 GHz, only channels 1, 6, and 11 do not overlap. Scan the area, pick whichever of those three is least crowded, and set it manually. Leaving an AP on auto-channel is often the reason two neighbours sit on top of each other for months.
On 5 GHz, you have many more channels and much less interference, so it is worth steering devices there whenever possible. Channel width is a trade-off: wider channels mean higher peak speeds but more chance of colliding with someone else. In a dense office building, 40 MHz is frequently more reliable than 80 MHz.
A few more settings worth checking:
- Lower the transmit power. Counter-intuitive but effective — loud APs encourage clients to cling on from far away instead of roaming to the nearest one.
- Enable band steering so dual-band devices prefer 5 GHz.
- Disable legacy low data rates. Old 802.11b clients hold airtime hostage; dropping the slowest rates usually pushes them off or speeds everyone else up.
- Turn off unused services on the router, such as guest networks nobody uses or an old WPS feature.
Two access points at moderate power almost always beat one access point shouting from a corner.
When One Access Point Isn't Enough
If your map shows a large area with genuine gaps, adding an AP is the honest answer. Wire it back to the network with Ethernet wherever you can — a cable run and a PoE switch will outperform any clever wireless workaround. Mesh or repeater nodes are useful when cabling is impossible, but each wireless hop costs bandwidth and adds latency.
If you deploy more than one AP, make sure they support proper roaming standards and share the same network name, so devices move between them without a fuss. Laptops wandering between two unrelated routers will drop calls constantly.
A Practical Order of Operations
When you arrive at the next "the Wi-Fi is broken" ticket, resist the urge to reset anything. Instead, work down this list.
- Walk the space and note signal strength, throughput, and timing at each problem spot.
- Decide which of the three failures you are actually dealing with — gap, weak signal, or congestion.
- Fix placement first: central, high, unobstructed.
- Tune channels, widths, and transmit power, then re-test at the same spots.
- Only then add hardware, and wire it if you possibly can.
Keep your floor plan and readings somewhere sensible. Six months later, when the office is rearranged and someone complains about the new meeting room, you will be able to compare the numbers instead of starting from zero. Most coverage problems are solved by moving one box and changing one setting — the trick is knowing which one.
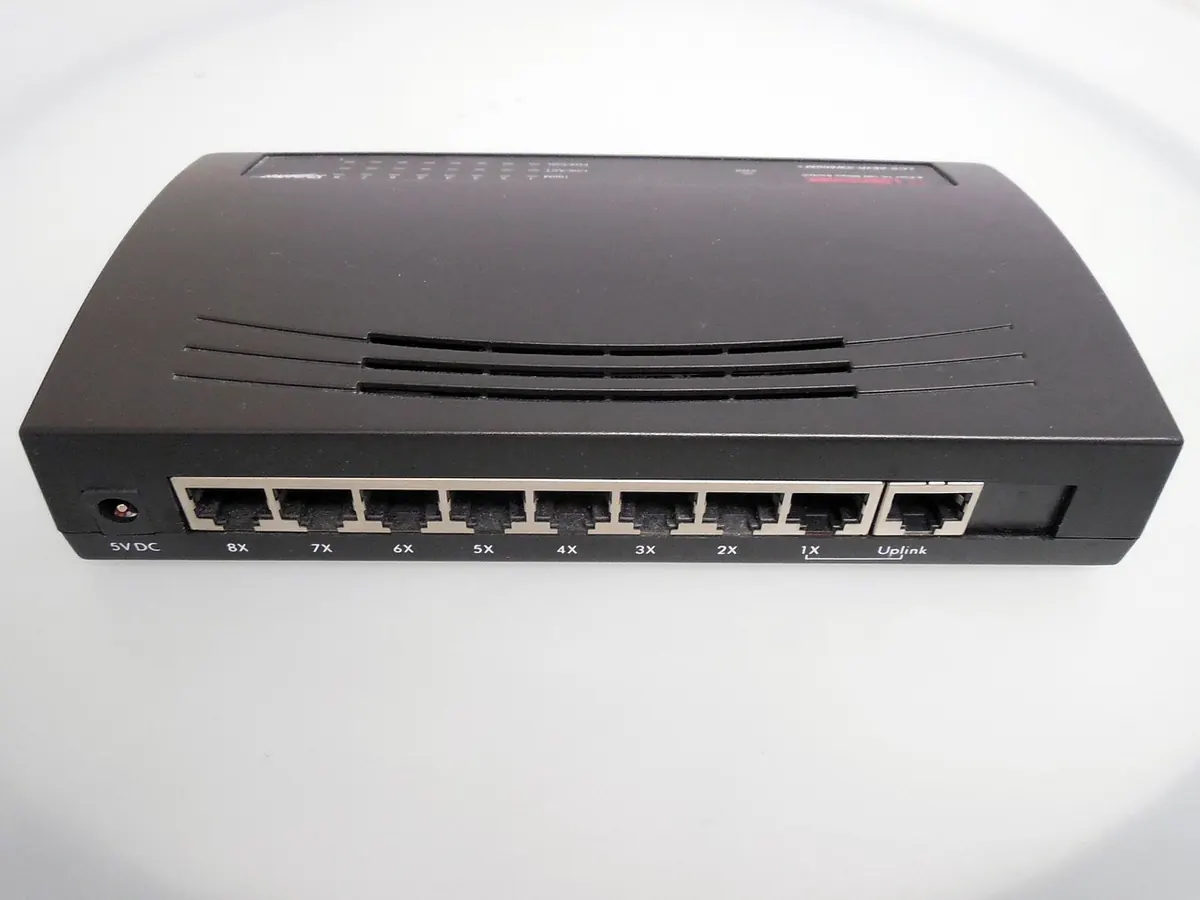
Photo: succo / Pixabay